American Mahjong Winning Strategies: How to Read Your Opponents’ Discards?
On the American Mahjong table, the biggest difference between expert players and casual players is not luck, nor is it the tiles you’re dealt—it’s the ability to “read your opponents.”If you only stare at your own hand without learning from our American Mahjong rules, you’re essentially playing “naked”—your opponents know exactly what you’re doing, while you have no idea what they’re planning. The first lesson of American Mahjong winning strategies is to shift your focus from “looking at yourself” to “watching others.” In this article, I’ll combine American Mahjong’s unique Charleston tile-passing phase and the NMJL (National Mah Jongg League) annual card mechanism to break down a systematic “hand-reading elimination method” that can double your defensive success rate.
Understand the Fundamentals: American Mahjong Provides a “Natural Cheat Code” for Reading
Many players think “reading opponents” is difficult. But in American Mahjong, reading is actually more systematic and traceable than in Chinese Mahjong. Here’s why:
1.The Card Locks in the Possibilities
American Mahjong requires players to win according to the fixed hand patterns on the NMJL annual card. You don’t need to guess every possible hand your opponent could have—you just need to eliminate options from the dozens of patterns on the card. The range is limited.
2.The Charleston Forces Information Exchange
The Charleston at the beginning of the game—where every player passes tiles to others—is your first opportunity to “read minds.”
3.Exposures Reveal Secrets
In American Mahjong, when you call a tile (expose a meld), you must reveal the complete combination. This exposes far more numerical relationships and information than a simple “pung” in Chinese Mahjong.
The First Battlefield: Mind-Reading During the Charleston
The Winner Is Decided Before You Even Draw: 3 Layers of Charleston Reading Logic
The Charleston is one of American Mahjong’s most distinguishing characteristics. Expert players start “profiling” their opponents during the passing phase itself.
1.Passing Speed = Your First Intelligence
- Instantly passed tiles → Completely useless to him → Reverse conclusion: the suit he passes is the suit he’s giving up on. If he passes all his Bams, you can feel relatively safe discarding Bams later.
- Tiles passed after hesitation → He broke up a pair or a sequence → The suit of that tile was originally one of his core targets, but he was forced to abandon it. In later rounds, you should pay special attention to middle tiles of that suit.
2.The “Profiling Method” Across Three Passes
The Charleston happens in three rounds: pass 3 tiles → pass 2 tiles → pass 1 tile. Build a “passing profile” for each opponent:
- First pass (3 tiles) → Look at the broad suit distribution.
- Second pass (2 tiles) → See if it matches the first pass’s suit pattern.
- Third pass (1 tile) → The last pass is often the most truthful (because there’s no choice left).
Key Insight:If a player passes nothing but Winds and Flowers across all three rounds, he’s most likely building an “all honors” hand or an “odd numbers” hand—at that point, any number tile in your hand is his prey. Discard with extreme caution.
3.Your Own “Counter-Intelligence” Passing
Passing isn’t just about gathering intelligence—it’s also about feeding misinformation. Here’s a pro tip: deliberately pass a tile that looks useful (like a 5 Dot) to make opponents think you’re building a Dot hand, when your real target is actually Craks. This is what I call the “dirty signal” tactic.
The Second Battlefield: The Discard Pile Elimination Method
Your Opponents’ “Hand Map” Is Hidden in the Discard Pile: Suit Elimination + Number Elimination
This is the most essential part of the article. Every discard tells a story.
1.Suit Elimination
Core Rule: “The more you discard of a suit, the less likely it is your target.”
- Count how many Bams, Dots, Craks, Winds, and Flowers each opponent has discarded.
- If someone has already discarded 7 Dots → it’s nearly impossible for him to be building a Dot-heavy hand (unless it’s a cross-suit special pattern, which is extremely unlikely).
- Action tip: Draw a simple 4-row × 5-column chart on paper (one column per suit) and fill it in quickly during the early and mid-game.
2.Number-Range Elimination (Advanced)
High-scoring hands on the American card are often built around consecutive number ranges, such as 234 or 678.
- Look at the number distribution of your opponent’s discards: if he’s discarded 1, 2, and 3, he’s most likely holding onto 6, 7, 8, 9 in the high range.
- Case in point: Suppose you observe that your opponent across the table has discarded 1 Crak, 2 Crak, and 3 Crak. The Craks left in his hand are most likely 6, 7, 8, and 9. Now you have a 5 Crak in your hand—should you discard it? The answer is NO—because 5 is the perfect bridge tile for him to complete “567” or “789.”
3.The Timeline: Before and After
- Discards from the first 5 turns: These reflect the initial hand structure—the true original intention.
- Mid-game discards: These reflect a forced pivot. The tiles discarded at this point actually reveal what his original target was. For example, if he suddenly discards an East Wind in the mid-game, it means his original East Wind-based hand plan failed—you can now breathe easier about East Wind.
The Third Battlefield: The Intelligence Explosion When an Exposure Is Made
The moment your opponent exposes a meld is your best chance to gather “confirmed intelligence.”
1.Deriving “Must-Have” Tiles from Exposures
- Opponent exposes two East Winds (a Pung) → He most likely has the third East Wind in his hand waiting to complete the Pung → If you’re holding the last East Wind, NEVER discard it—it’s your absolute safe tile. Keep it to protect yourself.
- Opponent exposes a “456 Crak” sequence → He’s looking for a “3 Crak” or “7 Crak” to extend the number chain → Be extra careful when discarding Craks, especially the “edge tiles” 3 and 7.
2.Number of Exposures = Urgency Level
- 1 exposure: Still in the development phase—you can probe moderately.
- 2 exposures: He’s getting close to a ready hand. His discards will become extremely cautious.
- Key observation: After he exposes 2 melds, what is his first discard?
- If it’s a “live tile” (never played before) → He’s attacking aggressively. You should switch to full defensive mode.
- If it’s a “dead tile” (following an already-played tile) → He’s also afraid of dealing the winning tile. You can “stall” alongside him.
The Ultimate Action List: “3 Tiles You Should NEVER Discard”
Memorize these 3 defensive iron rules and cut your rate of dealing the winning tile by 50%.
1.Your opponent just Punged a tile, and you happen to hold the 4th one
This is the “tile of death.” Never discard it under any circumstances. If you do, you’re helping your opponent complete a Kong or lock in a ready hand.
2.Someone has never discarded a particular suit
It means all tiles of that suit are concentrated in his hand. Discarding a high tile of that suit—especially middle numbers 5, 6, or 7—is basically handing him the win.
3.In the final 15 tiles of the game, someone suddenly switches from “fast play” to “slow play”
He’s ready to win. At this point, strictly follow the “follow-the-lead” principle—only discard tiles that have already appeared on the table. Don’t try a single new tile.
Let’s return to the question we started with: What is the winning strategy in American Mahjong? The answer has never been “getting good tiles”—it’s “reading other people’s tiles.” The Charleston gives you the first impression, the discard pile gives you continuous tracking, and exposures give you final confirmation. This systematic hand-reading elimination method can transform your defense from “playing by feel” to “playing by probability.”
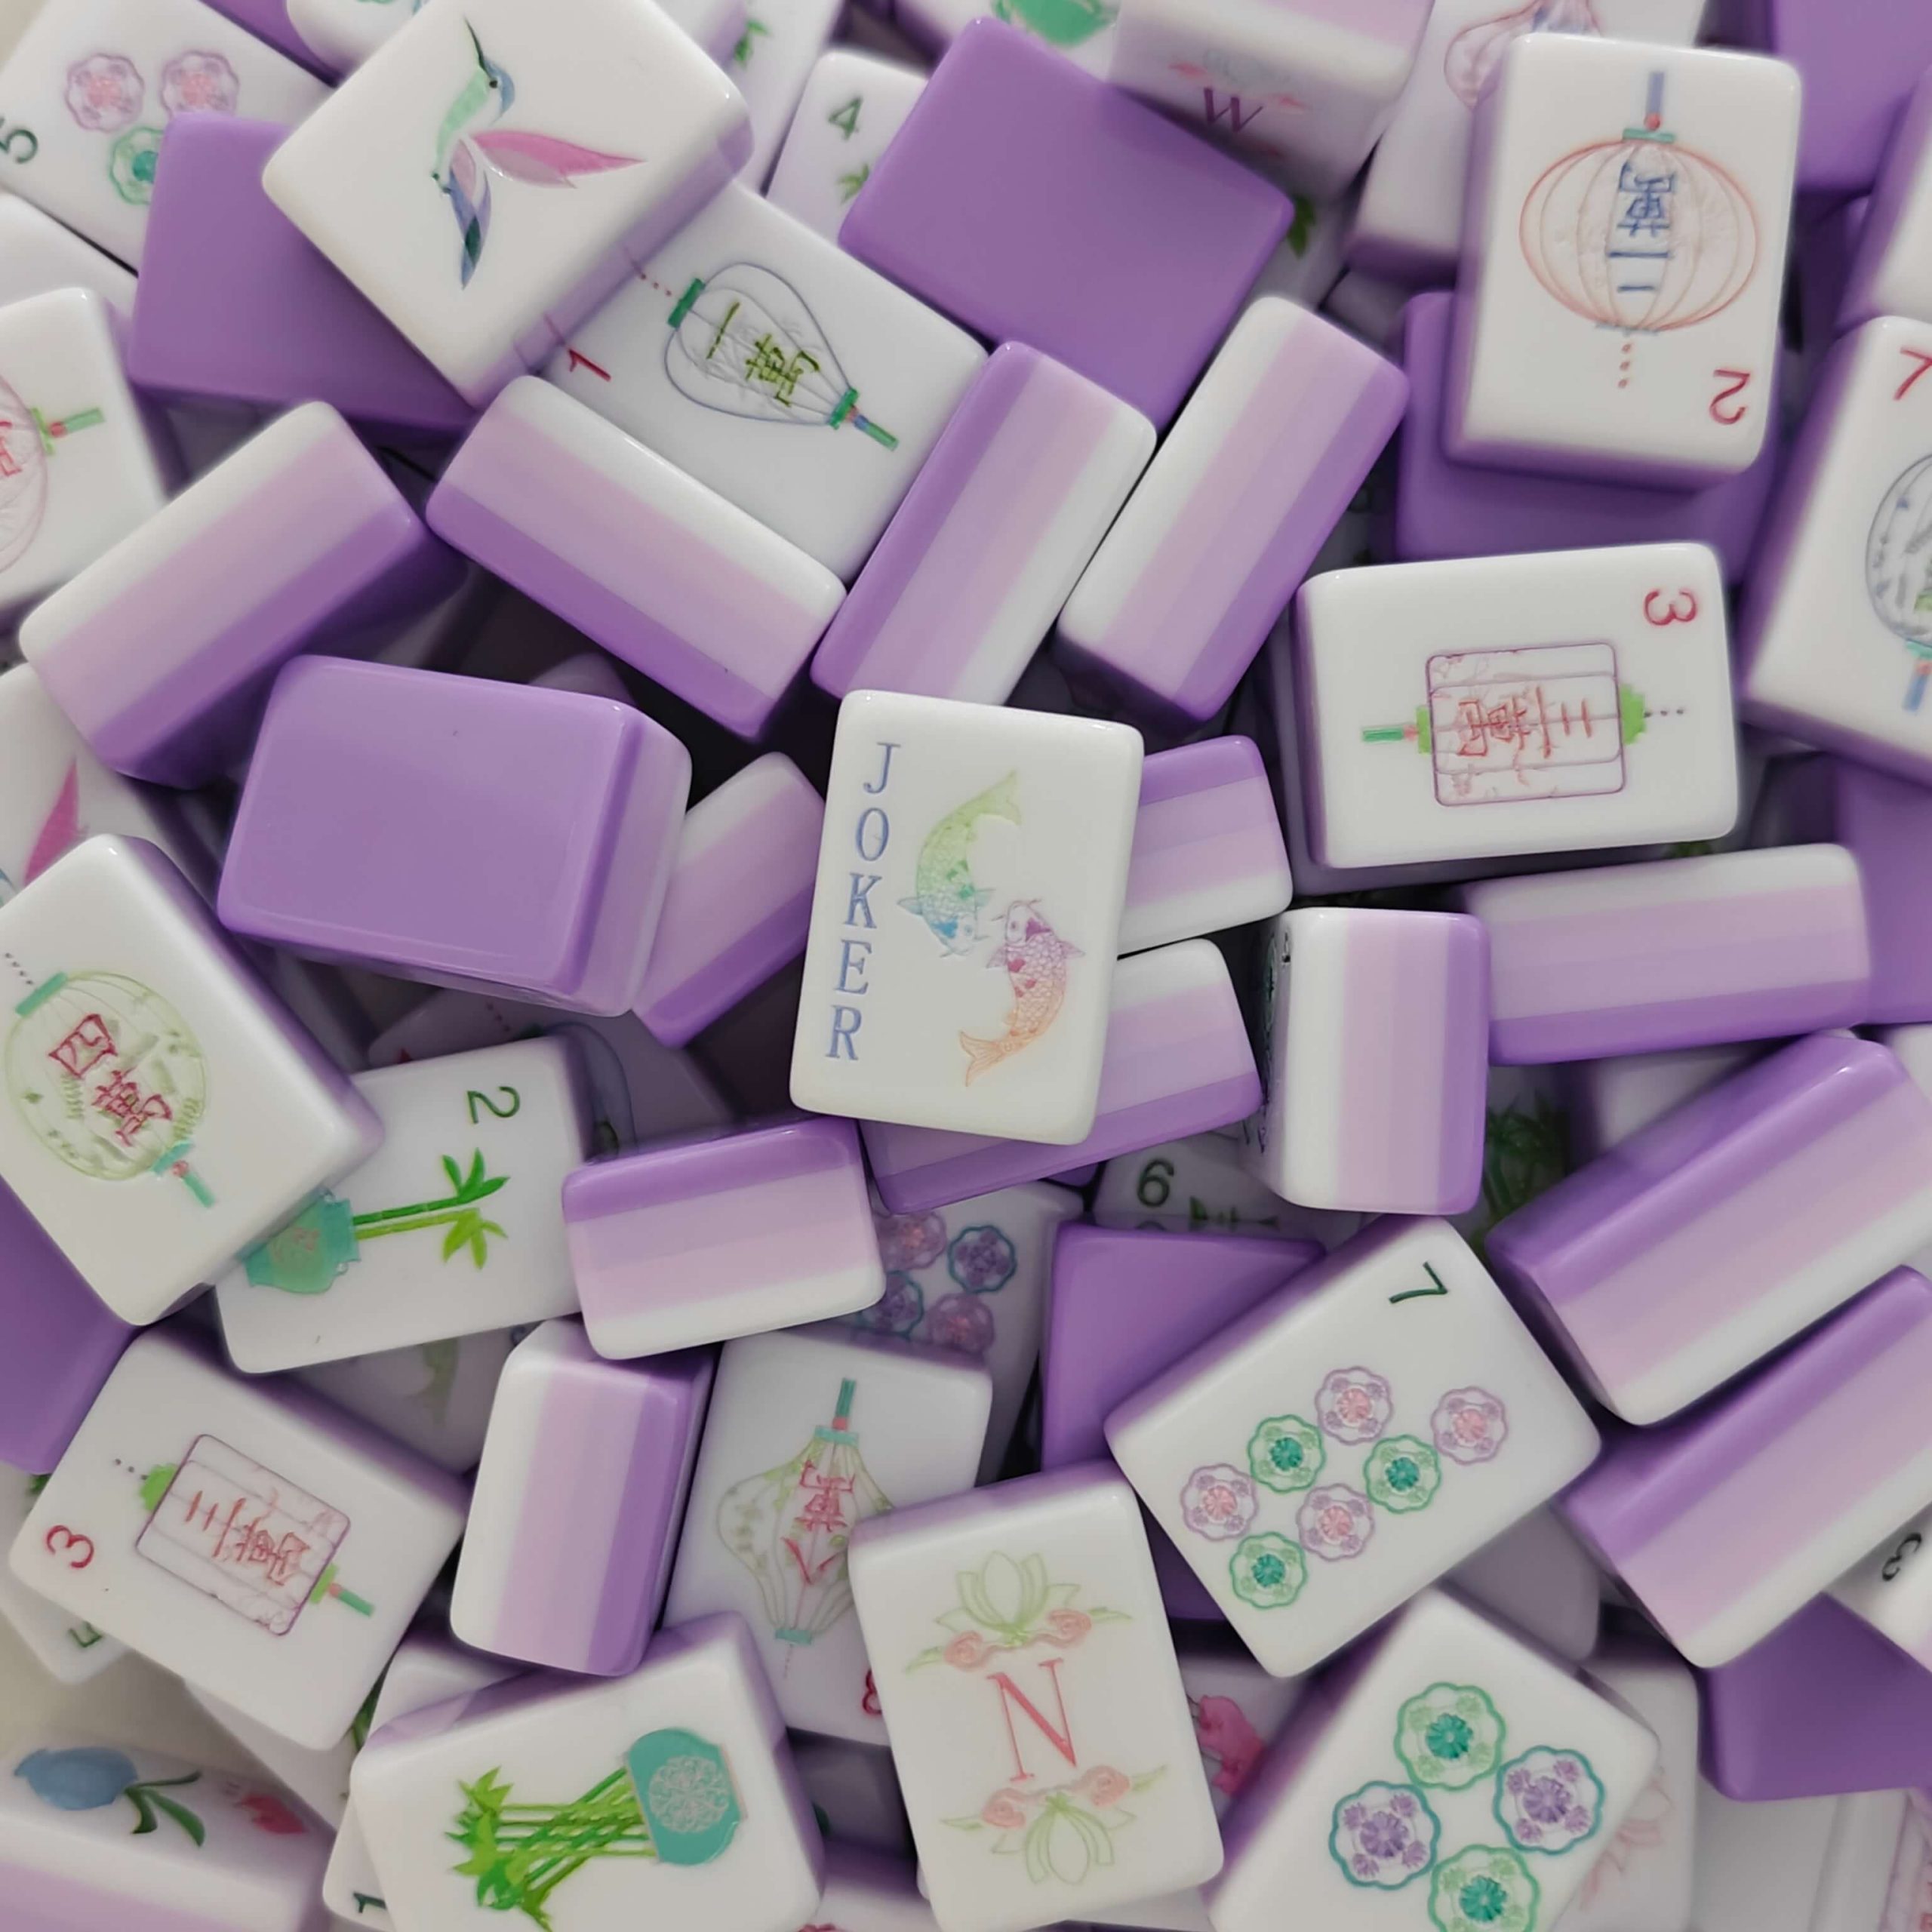
Now that you have these powerful techniques, it’s time to put them into real practice. Grab your OMHJGO American Mahjong set—its lightweight, portable design means you can play anywhere: at home, in a café, or even in the park. The exquisite four—layer acrylic engraved tiles not only look stunning on the table but also serve as your reliable companion for precise reading.
Have you ever lost a game because you misread just one opponent? Share your story in the comments!